In order to configure Docusign as your electronic signing platform, you must first obtain certain information from Hellosign. Navigate to the Hellosign home page at:
and log in using your credentials. If you don’t yet have credentials, you can sign up for a developer or sandbox account by navigating to:
https://www.docusign.com/developer-center
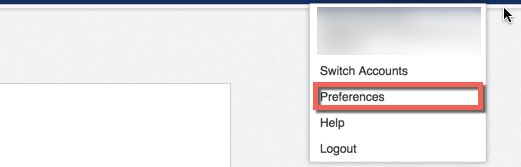
Once you have logged in, navigate to your Docusign settings by clicking on the Settings button under your profile menu as shown.
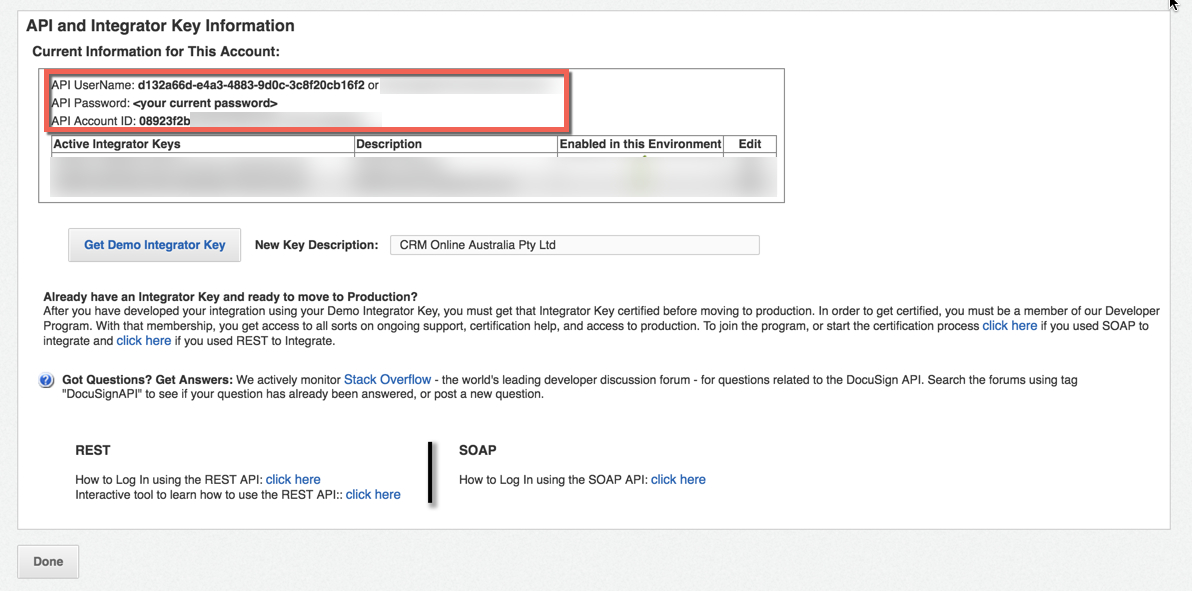
Once you’re on your settings screen, click the API link in order to navigate to the API settings. This will show you your docusign API settings. Take note of the API username and password, as you’ll need those for your Flexidocs platform.
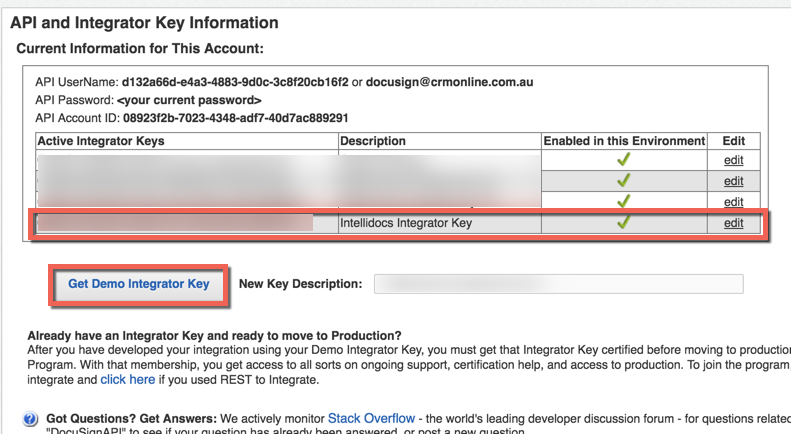
If you don’t have an integrator key, you can request one from the developer center by clicking on the Get Demo Integrator Key button.
Then, navigate to the CRM integration screen on your Flexidocs console:
https://console. flexidocs.co/settings
and select Docusign as your electronic signing platform. Then, paste the username and password into the section for Docusign Username and Docusign Password as shown below. Once you have done this, click Update Settings and then Validate Electronic Signing Connection. If the settings are valid, the system will indicate that you have connected successfully to Docusign.
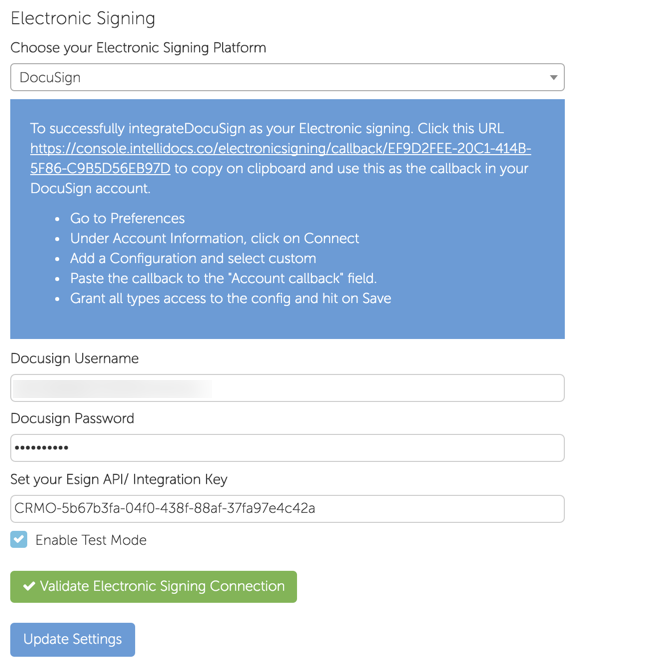
Once you have done this, you’re almost there. Note the callback URL that is displayed in the Flexidocs electronic signing settings, in the format:
https://console.flexidocs.co/electronicsigning/callback/XXXX
Copy this to your clipboard. Then, navigate to the Connect section of your docusign preferences page.
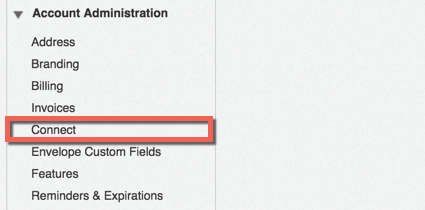
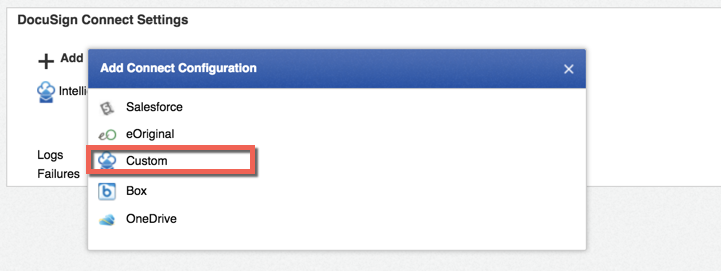
Then, add a new custom connect configuration as shown below.
Paste the callback URL into the URL to Publish To setting. This allows us to capture key signing events in real time back into the CRM. Once you’ve pasted the setting, set the name to Flexidocs, select all events to publish, and click Save and Close.
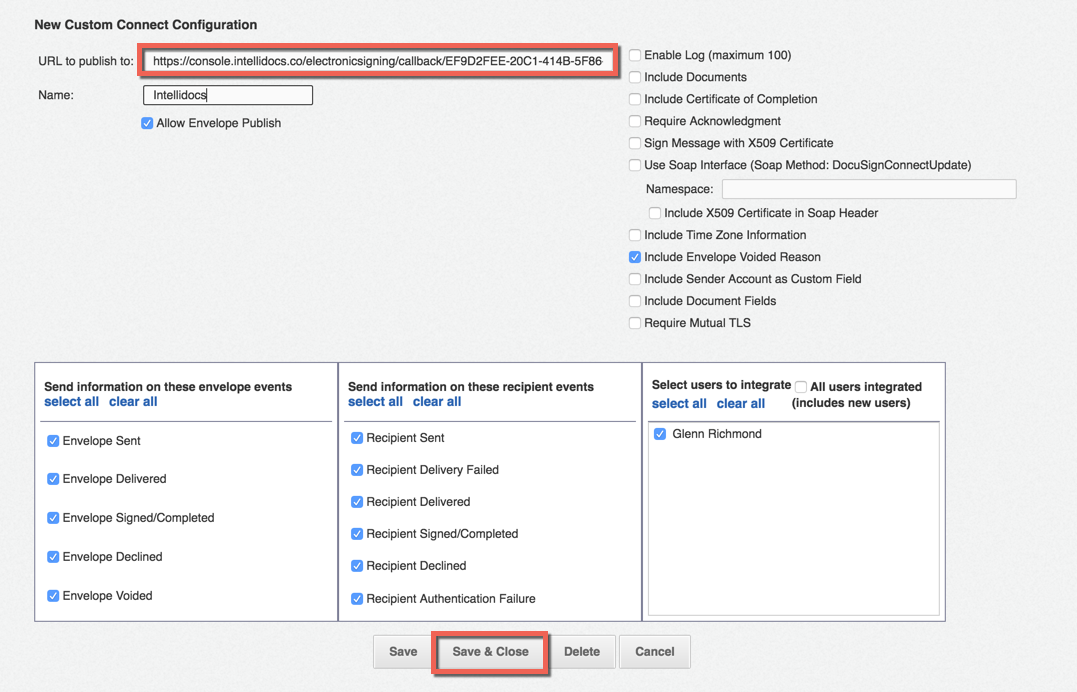
Once you’ve done this, your Docusign integration is now complete.